
Saving seeds from Cosmos, an easy-to-grow mainstay of the summer garden
Every year I grow cosmos on my small farm. Most years I save seed, and that makes for a tough choice in the seed-saving years of which variety to choose from the different species of Cosmos bipinnatus and Cosmos sulphureus to grow out. Cosmos belongs to the Asteraceae family and like other flowers in this family they have perfect flowers (both male and female parts are present), but they rely on insects to move their pollen for pollination and thus the chance for pollen moving from one variety of cosmos to another on the farm exists. I want to take special care that the seed I save is true-to-type-- I don’t want my all white ‘Purity’ cosmos to accidentally get crossed with a variety that has other colors, for example.
So, this year I chose to grow out the ‘Double Click’ Cosmos (Cosmos bipinnatus) and the ‘Sunrise’ Cosmos (Cosmos sulphureus) and to save seed from them. The different species of Cosmos do not cross with one another, so it is safe for me to grow one variety of each of them. Choosing which Cosmos sulphureus to grow is easier than choosing which Cosmos bipinnatus to grow, because I don’t rely as heavily on the sulphureus in my cut flower business. However, the Cosmos bipinnatus are a staple of my late summer arrangements, and it’s a little harder to limit myself to just one variety from this group.
Equipment Checklist:
- · 5 gallon bucket
- · Sheet or screen for drying on top of
- · Dry space (greenhouse, woodstove, or?)
- · ¼” and 1/8” hardware cloth screen
- · Box fan
- · 3 plastic totes
- · Storage bag (paper or plastic)
- · Dark pen

Roguing
Once you have a nice stand of your chosen variety of Cosmos begin to flower, you must check for off-types. In the ‘Double Click’ the off-types present typically as flowers that only have a single layer of petals, instead of the characteristic double that the variety is named for. The process of removing the plants that don’t look right (the rogues) is called “roguing”. Have you ever had the experience of growing out a number of individual plants from a given variety and some just don’t look how they are supposed to? Well, often this is because the seed grower didn’t pay attention at this stage of the life cycle and they let off-types stay in the genetic mix. In the case of my ‘Double Click’ population this year (about 145 plants), I removed two plants with single petals so that their pollen wouldn’t cross with the double-petaled types. Flower seed growers/breeders may also choose to select for other characteristics like color, stem strength, stem length, maturation date, disease resistance, petal shape, plant vigor, and more. Roguing is an integral part of plant breeding because it helps guide a given population towards the desired uniformity.

Harvesting
Ideally, harvesting seed takes place after the morning dew has evaporated or in a window of time without rain. It is ideal for flower seeds to be as dry as possible when harvesting, because dry seed helps to avoid early sprouting, eases the threshing and winnowing process, and makes for a better storing product over time.
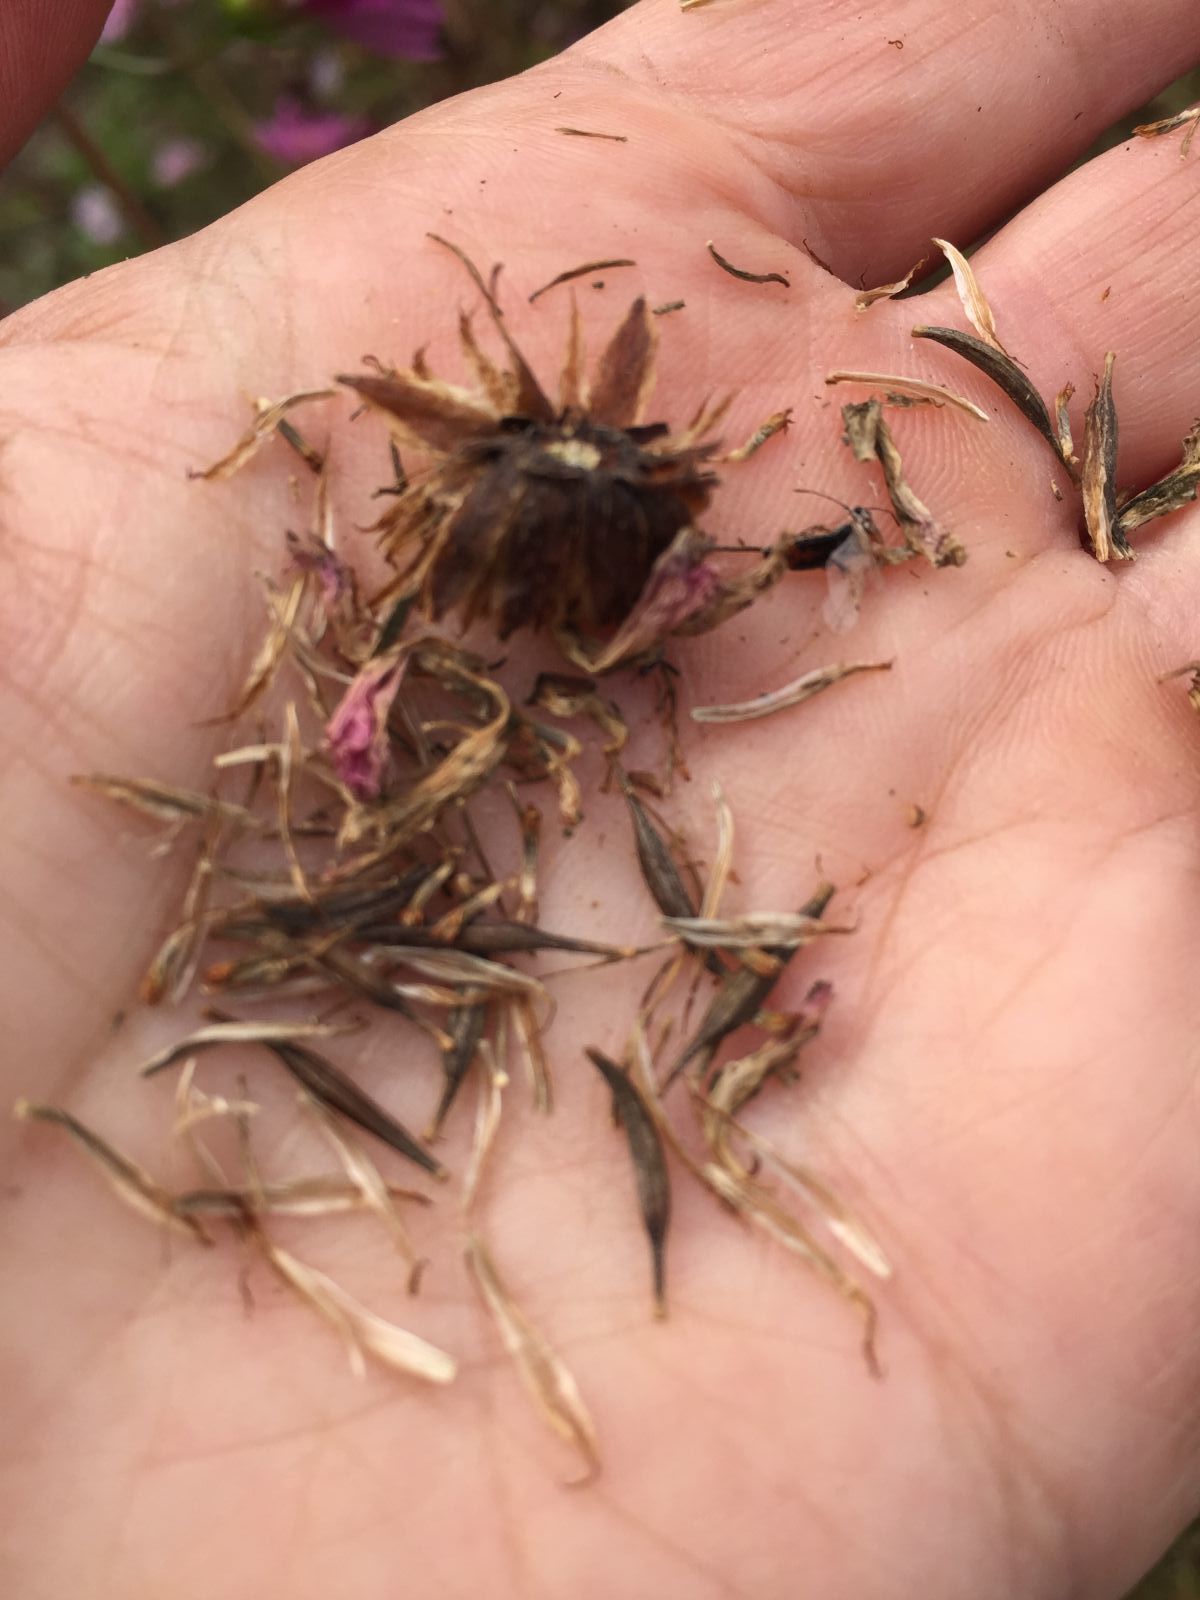
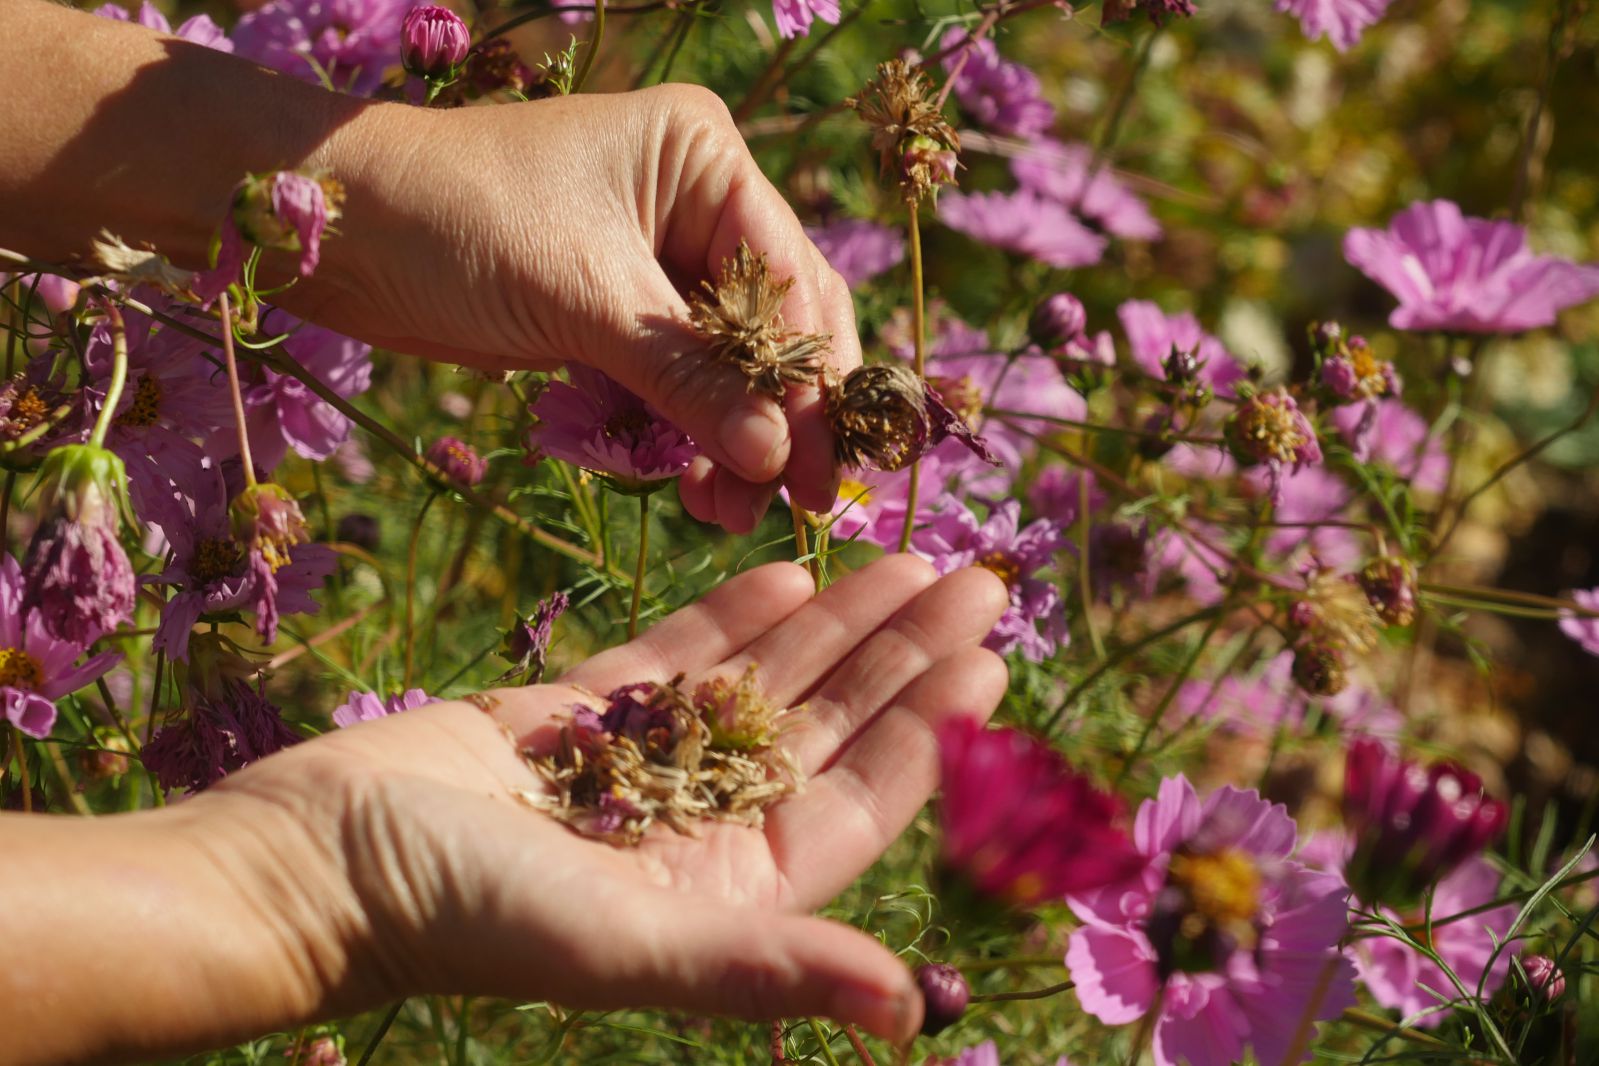
To harvest: Grab a bucket to put your seed heads inside of. I know that the seed is ready when I start seeing the sparrows flying all around the cosmos, flitting to and fro. They really like to eat cosmos seed so it’s actually better if you can notice it’s ready before they do. When it’s ready the seed head will begin to open up from its tight flower bud shape and you’ll see dark brown, long double-pointed seeds inside. The seed is not encased in pod and falls freely from the plant with a very slight touch, so birds or carelessness can waste a lot of seed, knocking it to the ground. The earliest flowers to mature always make the largest quantity of seed. Early seed heads have 10-20 seeds while later ones may yield only 3 or 4. Gently pull each seed head off the stem and place the ripe seed in your bucket. Sometimes this is a double handed procedure, but when you get the hang of it you’ll be able to peel them off the stem; the motion is like turning over a playing card.
Drying
From the bucket it is important that you put your seeds in a dry space. I place my seeds on screens or sheets elevated off of the ground in my greenhouse to dry. Seeds harvested later in the fall get placed on screens or in paper bags above the wood stove. Consider air flow: Is there enough space between seed heads or seeded flower tops for air to pass through and prevent molding? When your seed feels almost brittle, that is the ideal degree of dryness for threshing. To determine if your seeds are dry enough, firmly grasp one oblong seed with both hands and try and break it. Seed that still needs drying will bend but a dry seed will snap.

Threshing
Rubbing your dry seed heads across hardware cloth screens will separate seeds from their casing. I suggest using hardware cloth that has ¼ inch openings for a first pass. You may also want to do a second pass over 1/8” hardware cloth as well. These hardware cloths are available at your local hardware store and can be pinched between a wooden frame for ease of use. However, if you get your seed really dry, just rubbing it in your hands may be enough to separate it from the flower remnants and then you can move on to winnowing.

Winnowing
I position a box fan with two rubber totes in front of the fan, the one nearer the fan taller than the farther. With a third tote containing the seed to be winnowed, I pour my seed from it across the path of the fan set at medium-high speed. Always start this process on a slower speed until you’re feeling confident that the strength of the fan is appropriate. Little by little, pouring the seed through the fan’s air blows away (winnows) the lighter weight material which encased the seed in the flower. The seed is heavier and will fall closer to the fan. The second tote is for overflow, in case your seed blows beyond the first tote. Once your first pour is complete, inspect your progress. You’ll decide whether to consolidate what’s in both totes on the ground or if the second tote just caught your lighter weight (and likely unviable) seed. Then you’ll switch and use the tote full of seed on the ground as your pouring tote, and the tote you used previously to pour from will catch cleaned seed on the ground. Continue until your seed is cleaned to the degree you prefer, ideally free of all remnant chaff.

Storage
Once your seed is clean, store it in a cool, dark place with limited humidity. If your seed still feels moist to the touch, dry it further over the wood stove or on a screen above a fan. Seed can be stored in paper, plastic or glass. Don’t forget to label your seed with the variety name and the date of collection. Dream of planting it next year over the winter months!